Nine Quick Tips for Better Photos at Food Festivals
Food festivals pose a wide variety of unique challenges for a food photographer. From unpredictable outdoor lighting to awkward angles. You’re fighting the crowds and wondering how the heck to make a sample on a paper plate look enticing. How does a pro photographer handle this?
This year’s Devoured Culinary Classic at the Desert Botanical Gardens was a perfect opportunity to capture images and share some of my top tips for shooting at food events. Too, the beautiful desert backdrop lends toward extra creativity in the images.
1. Shoot RAW
This is non-negotiable in my book. Festivals are a fast-paced environment and sometimes you don’t have the time to dial in the optimal settings. Maybe it’s that perfect moment when the chef is handing a guest a plate of food, or a sous is drizzling honey on a panna cotta. Chances are, you’re seeing the shot happening, pulling your camera to your face and don’t have the time to dial in the perfect exposure and white balance. As long as you’re shooting RAW, you’ll have a lot more leeway to fix issues in editing. Not familiar with shooting RAW or why it’s so powerful? I have a video all about it on YouTube.
Here’s an example from shooting at Devoured. The image on the left of a chef from Frites Street is straight from the camera. It’s overexposed and the white balance is too warm. It was captured on a 50mm lens at f2.0, ISO100, and 1/500. Since I was shooting in RAW, I was able to adjust to an appropriate white balance and reclaim the highlights in editing much more effectively than had I been shooting in JPG.
2. Have a Plan of Attack
My general plan of attack for any food event, whether shooting for my own blog or capturing images on assignment from a publication or client, is to hit as much as possible in the first hour. The food generally looks its best at the beginning. Things like micro greens and garnish (which we love!!) start to go by the wayside later in the event as chefs run out of steam and ingredients. After the first hour, I go back to spots where I want to re-shoot something or capture people and action shots.
[convertkit form=4983847]
3. Look for textured surfaces or backgrounds with interest
Shooting at a food festival means you don’t have props or styling tools with you to add interest to a scene. Too, you’re usually shooting sample sized items. The easiest way to make a boring image of a sample more exciting is to look for interesting backgrounds with texture or surfaces with complementary color.
Be careful not to pick something so bold that it overpowers your scene. You don’t want the backdrop to compete with the main attraction.
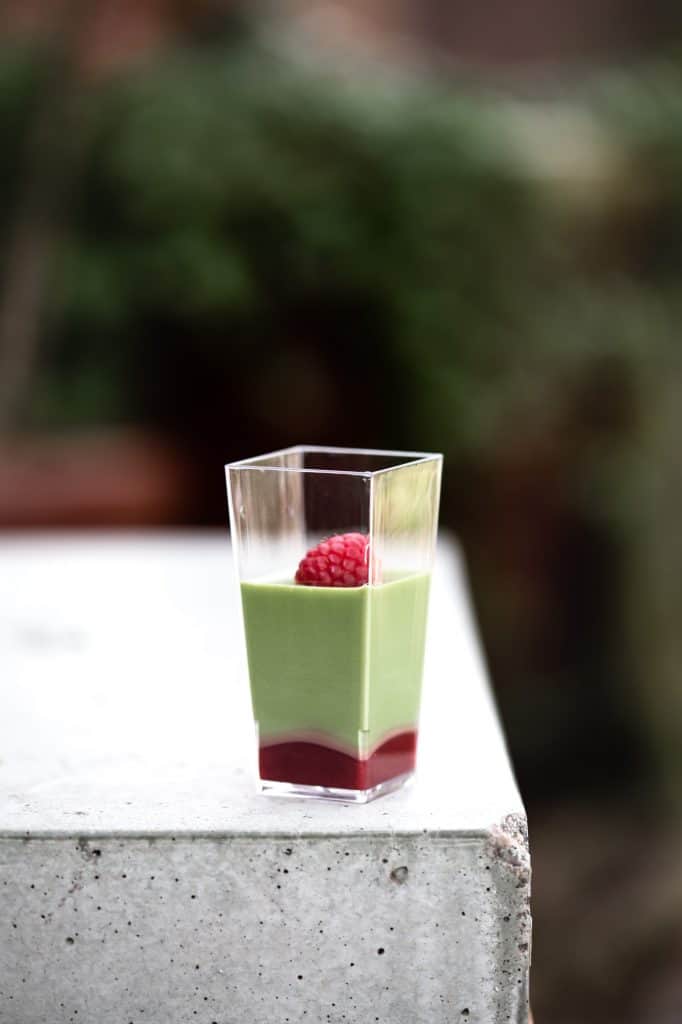
Some soft greens in buttery bokeh (thanks to a wide aperture) help provide the context of the garden for this elegant matcha dessert from Hana Japanese Eatery. The green also helps to amplify the red raspberry as a complementary color.
4. Shoot Tight
I personally prefer a longer focal length for capturing the food at a festival and a 100mm f2.8 macro lens will always be in my food festival camera bag (and my camera bag in general).
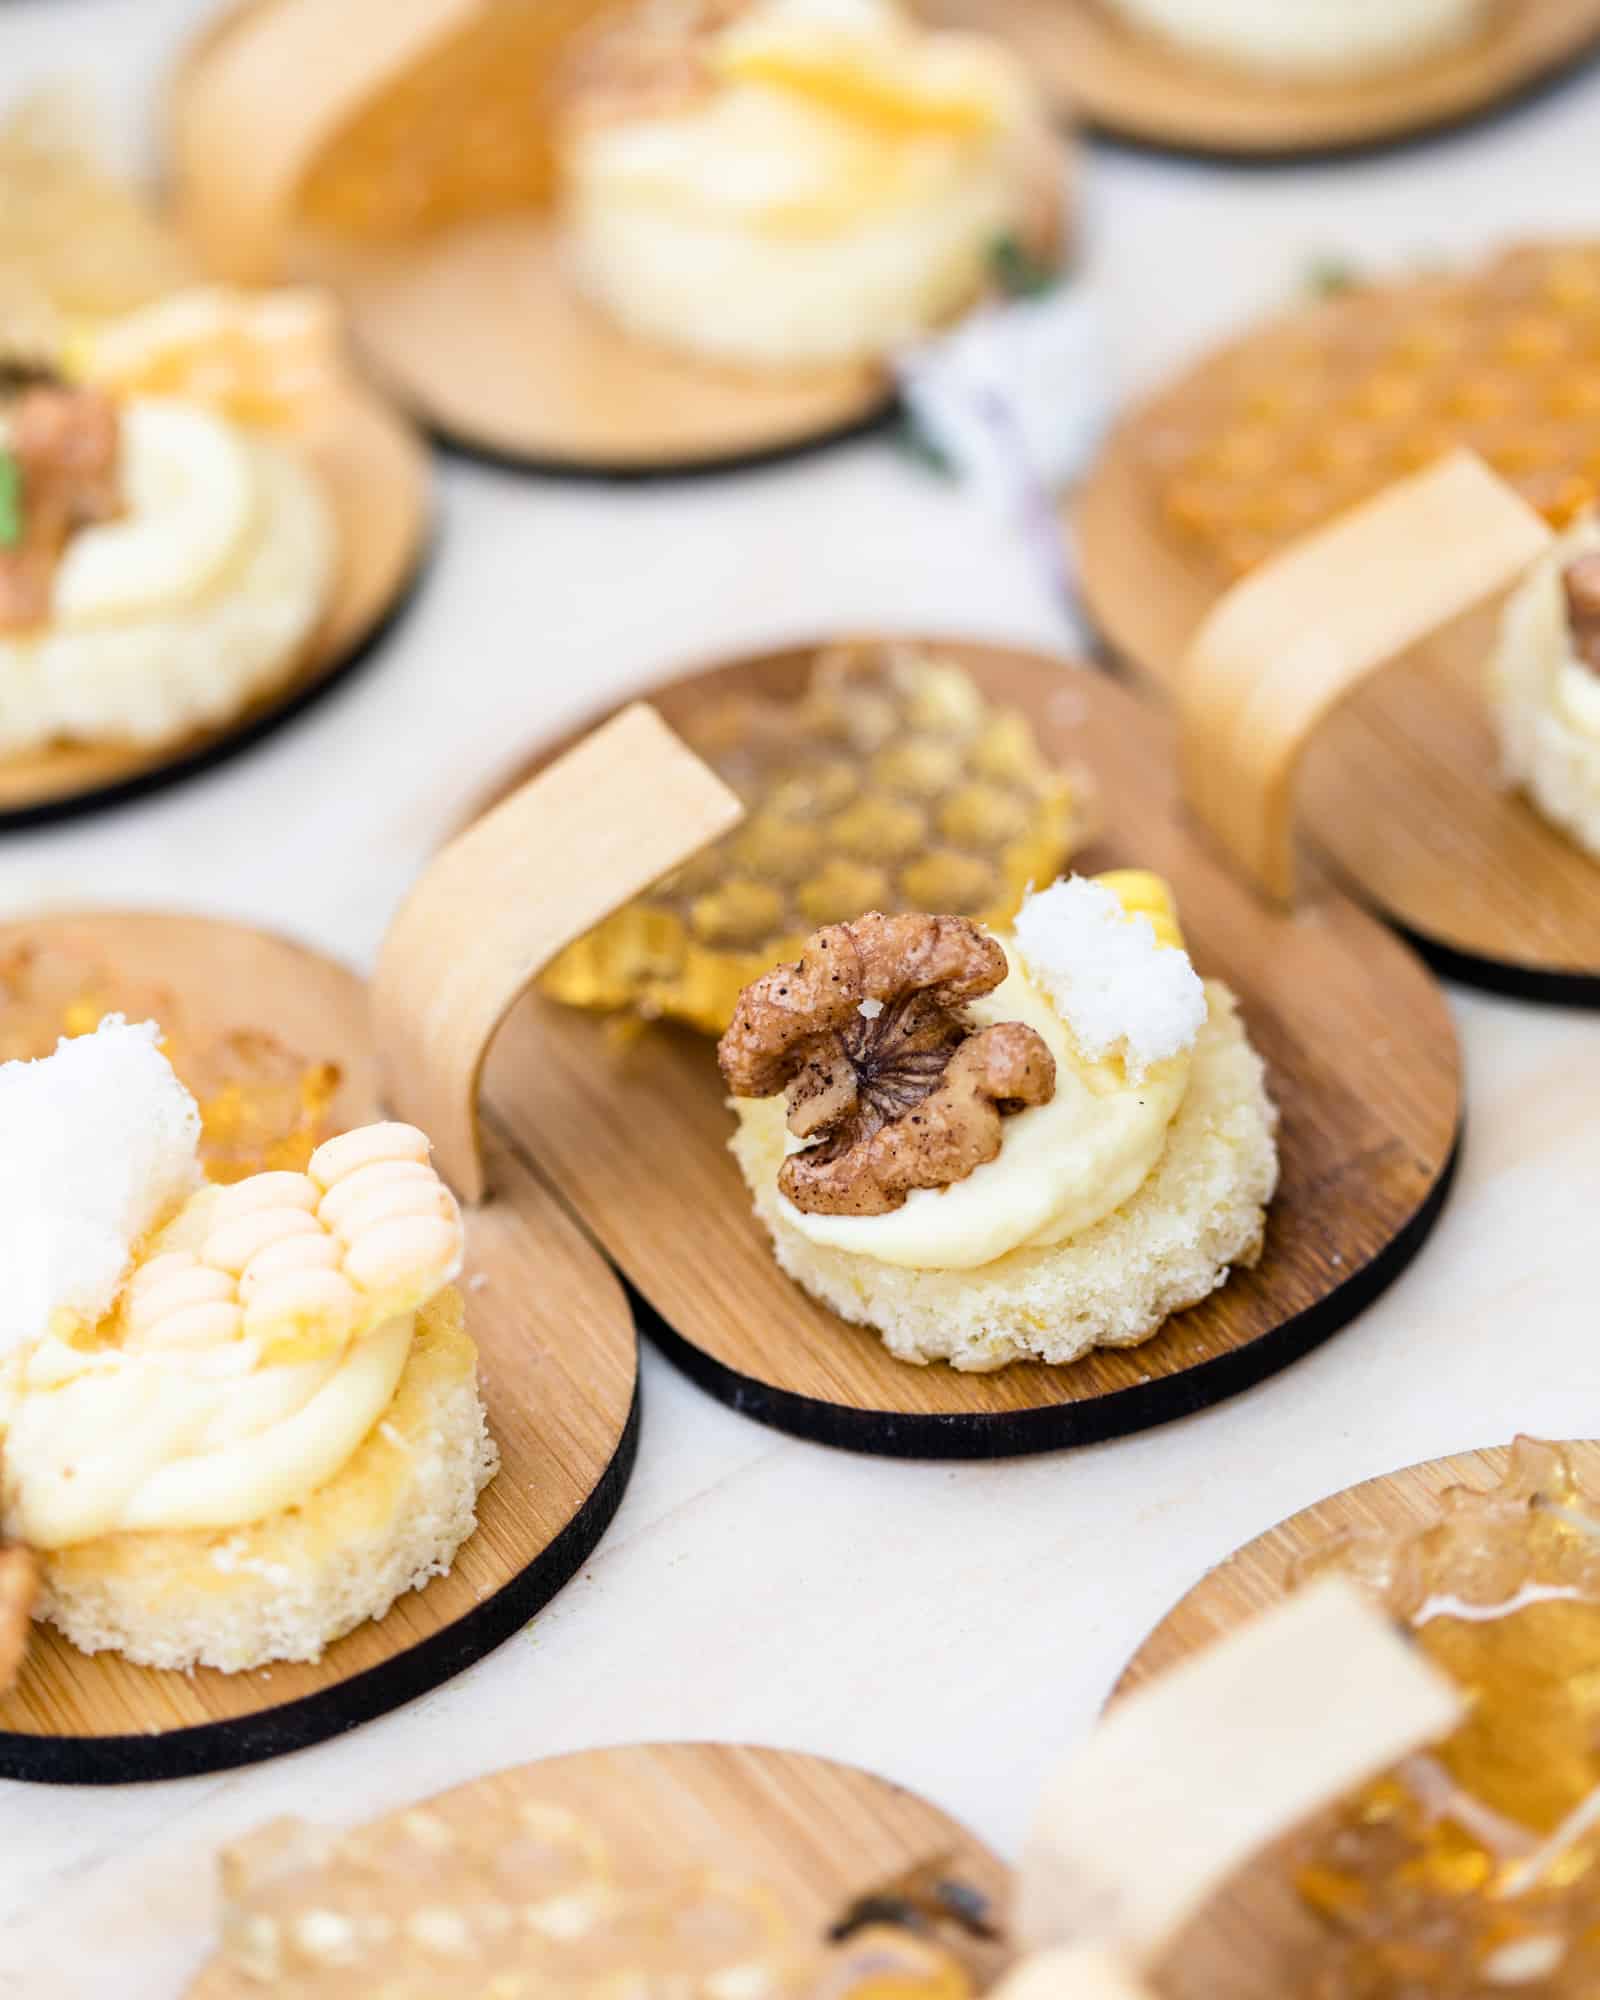
The primary reason being that it provides a nice tight crop to bring to life the smaller details of a sample sized portion. In this image of Corn and Honey Panna Cotta from District American Kitchen, the walnut and center sample feel large and catch our eye because we’re up close to the food and not catching much of the periphery.
The macro lens is also important in capturing details like the walnut. The macro lets us get super close to the food while still being able to have it in focus. If you’ve ever tried to shoot close to your food and the lens just won’t focus, chances are, it’s not a macro lens. Standard lenses have a limit to how close you can get to the subject while maintaining focus.
I also bring my 24-70mm f2.8 lens for wider shots and versatility after I’ve gotten my tight food shots. I’ll usually start the event on the 100mm f2.8 and then transition to the 24-70mm.
5. Embrace the Hard Light
The weather will have an inevitable effect on any outdoor food photography. Take this as a wonderful opportunity to explore different types of lighting. Hard light can be absolutely beautiful, but you just have to know how to work with it.
You’ll need to dial in your exposure and make sure that the food, your primary subject, is properly exposed. Chances are, if it’s midday and there aren’t any clouds, you’ll be working with some faster-than-you’re-used-to shutter speeds, particularly if you like to shoot with a wider aperture in the f1.8 – f4 range.
If you’re thinking “uh, Joanie, what is the shutter speed and aperture business?” Start HERE to learn all about them.
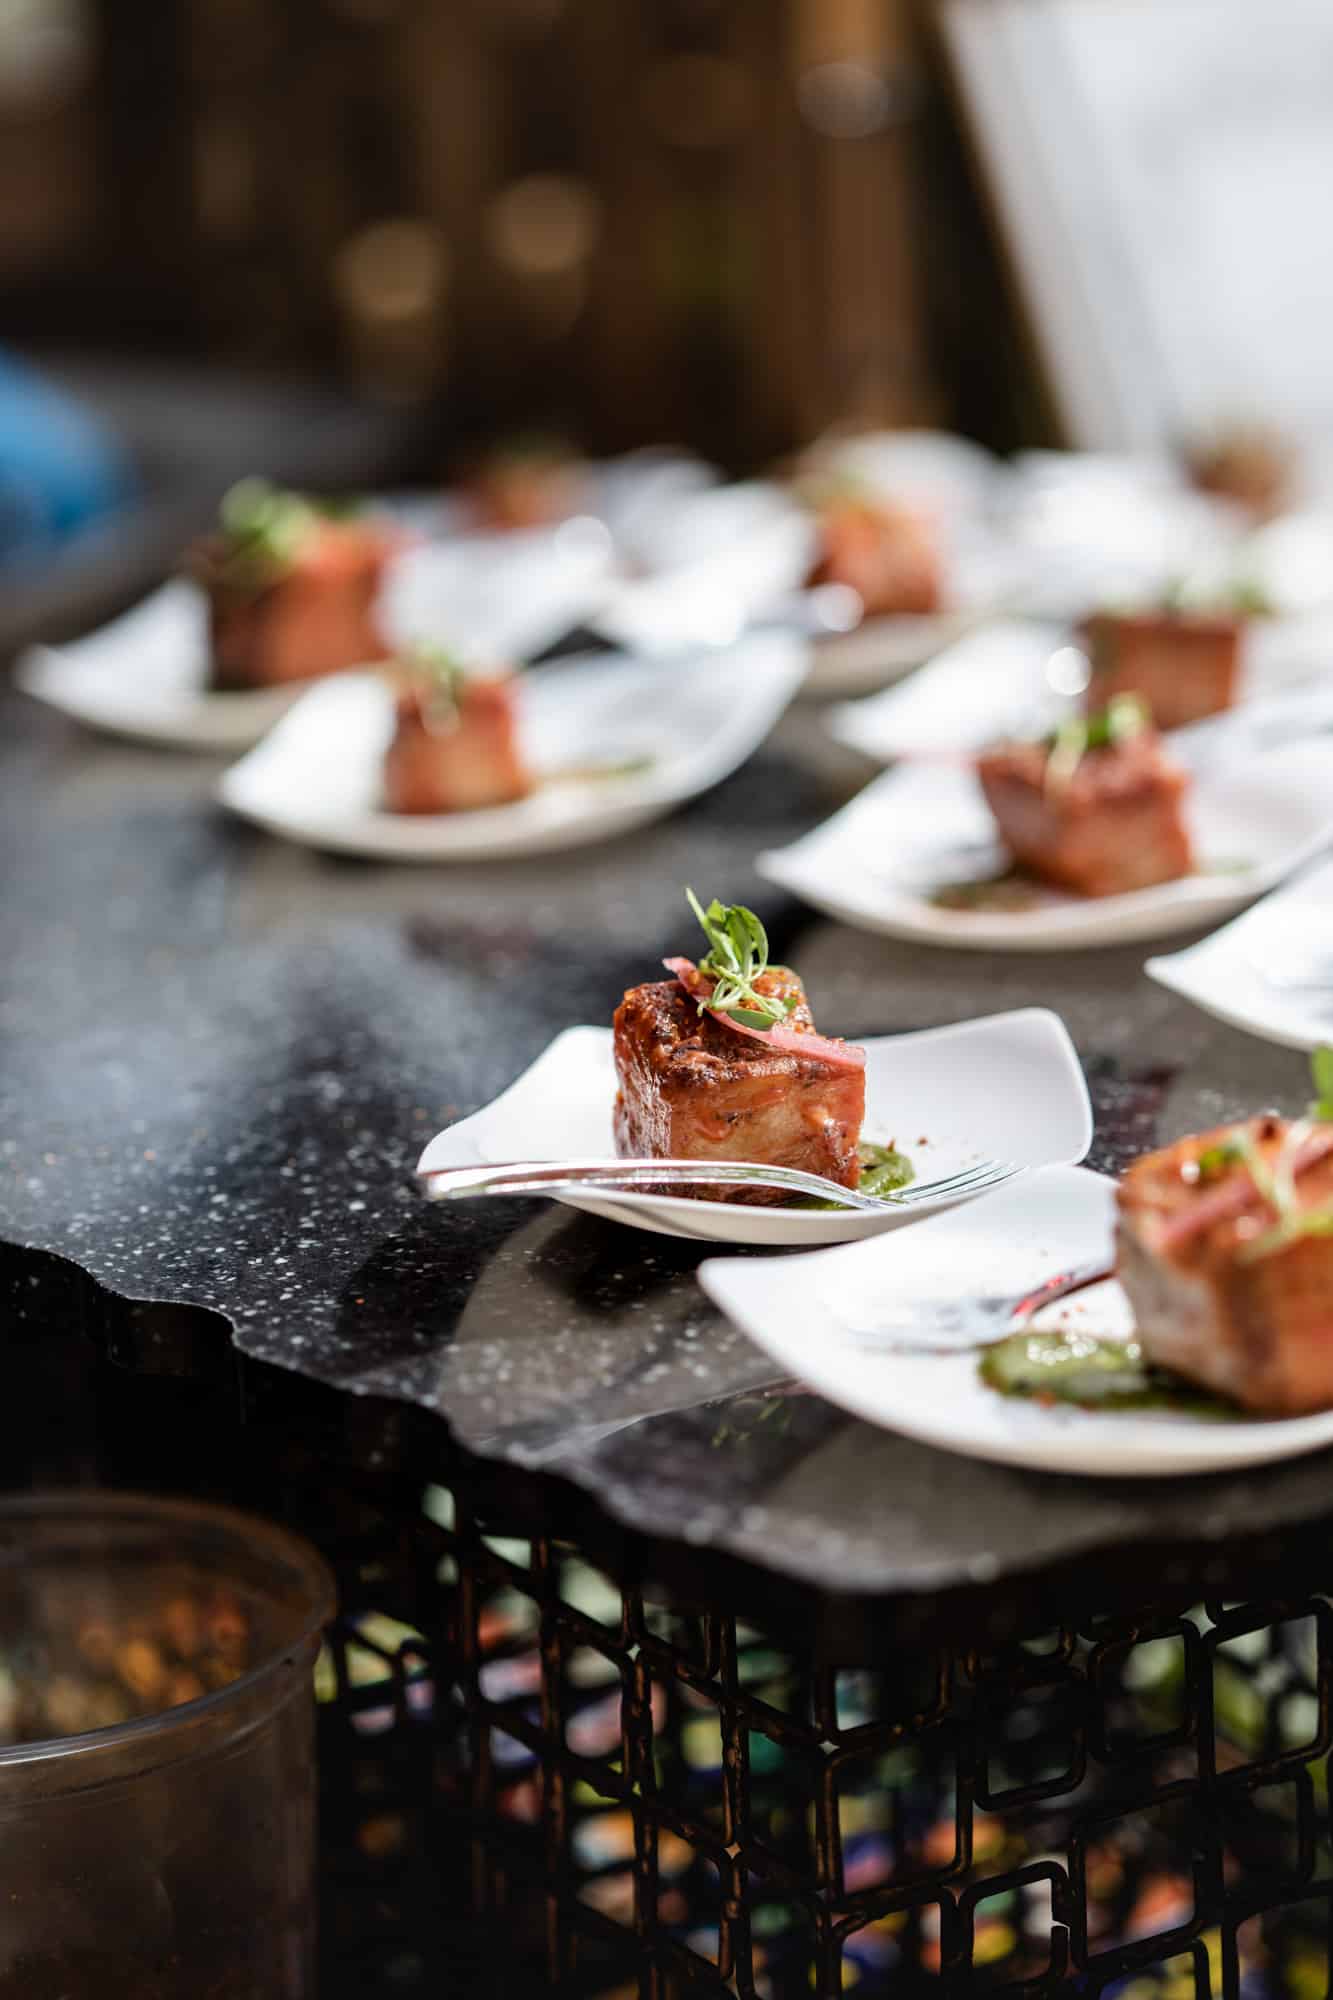
This image of crispy pork belly on little white wave plates from Deseo at The Westin Kierland Resort & Spa was shot in direct sunlight with hard light. You can see the light was hard here because of the contrast from the highlights to the shadows. Too, you can also see the harder dark shadow being cast under the plate. The shutter speed was 1/800 while the other settings were f3.2, ISO100 and 100mm.
I also tend to shoot with the light coming in from behind the subject when working with hard light so the shadows are cast toward the camera. This helps to define the subject and prevent a feeling of flat lighting.
6. Take the Food to Better Light
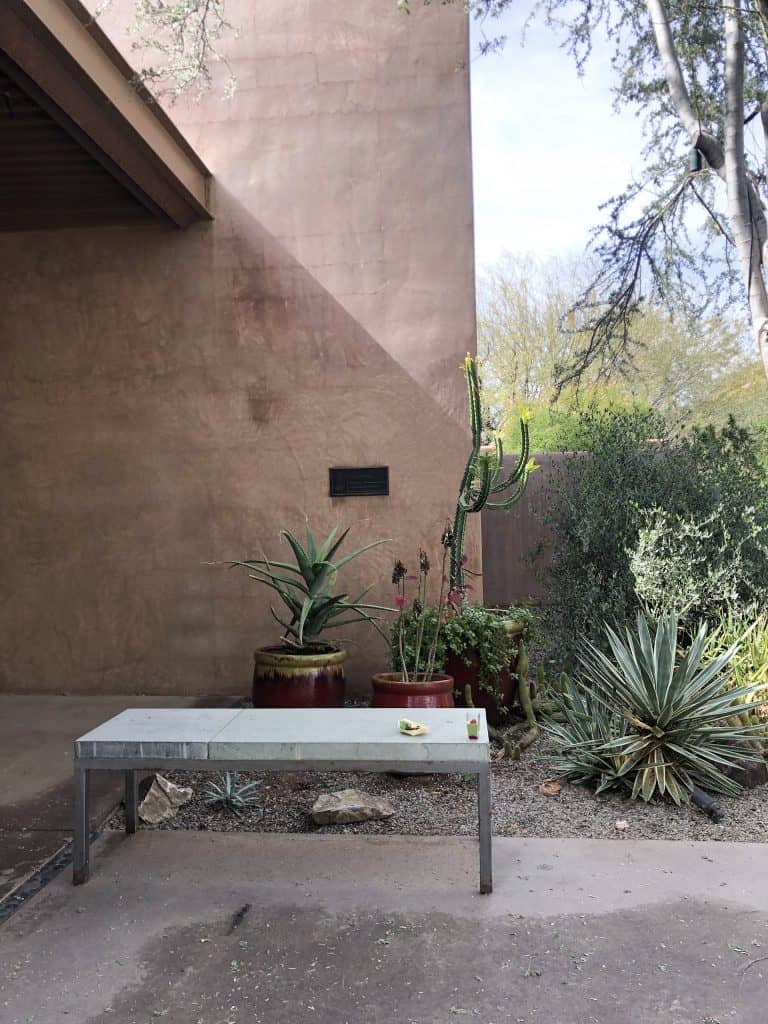
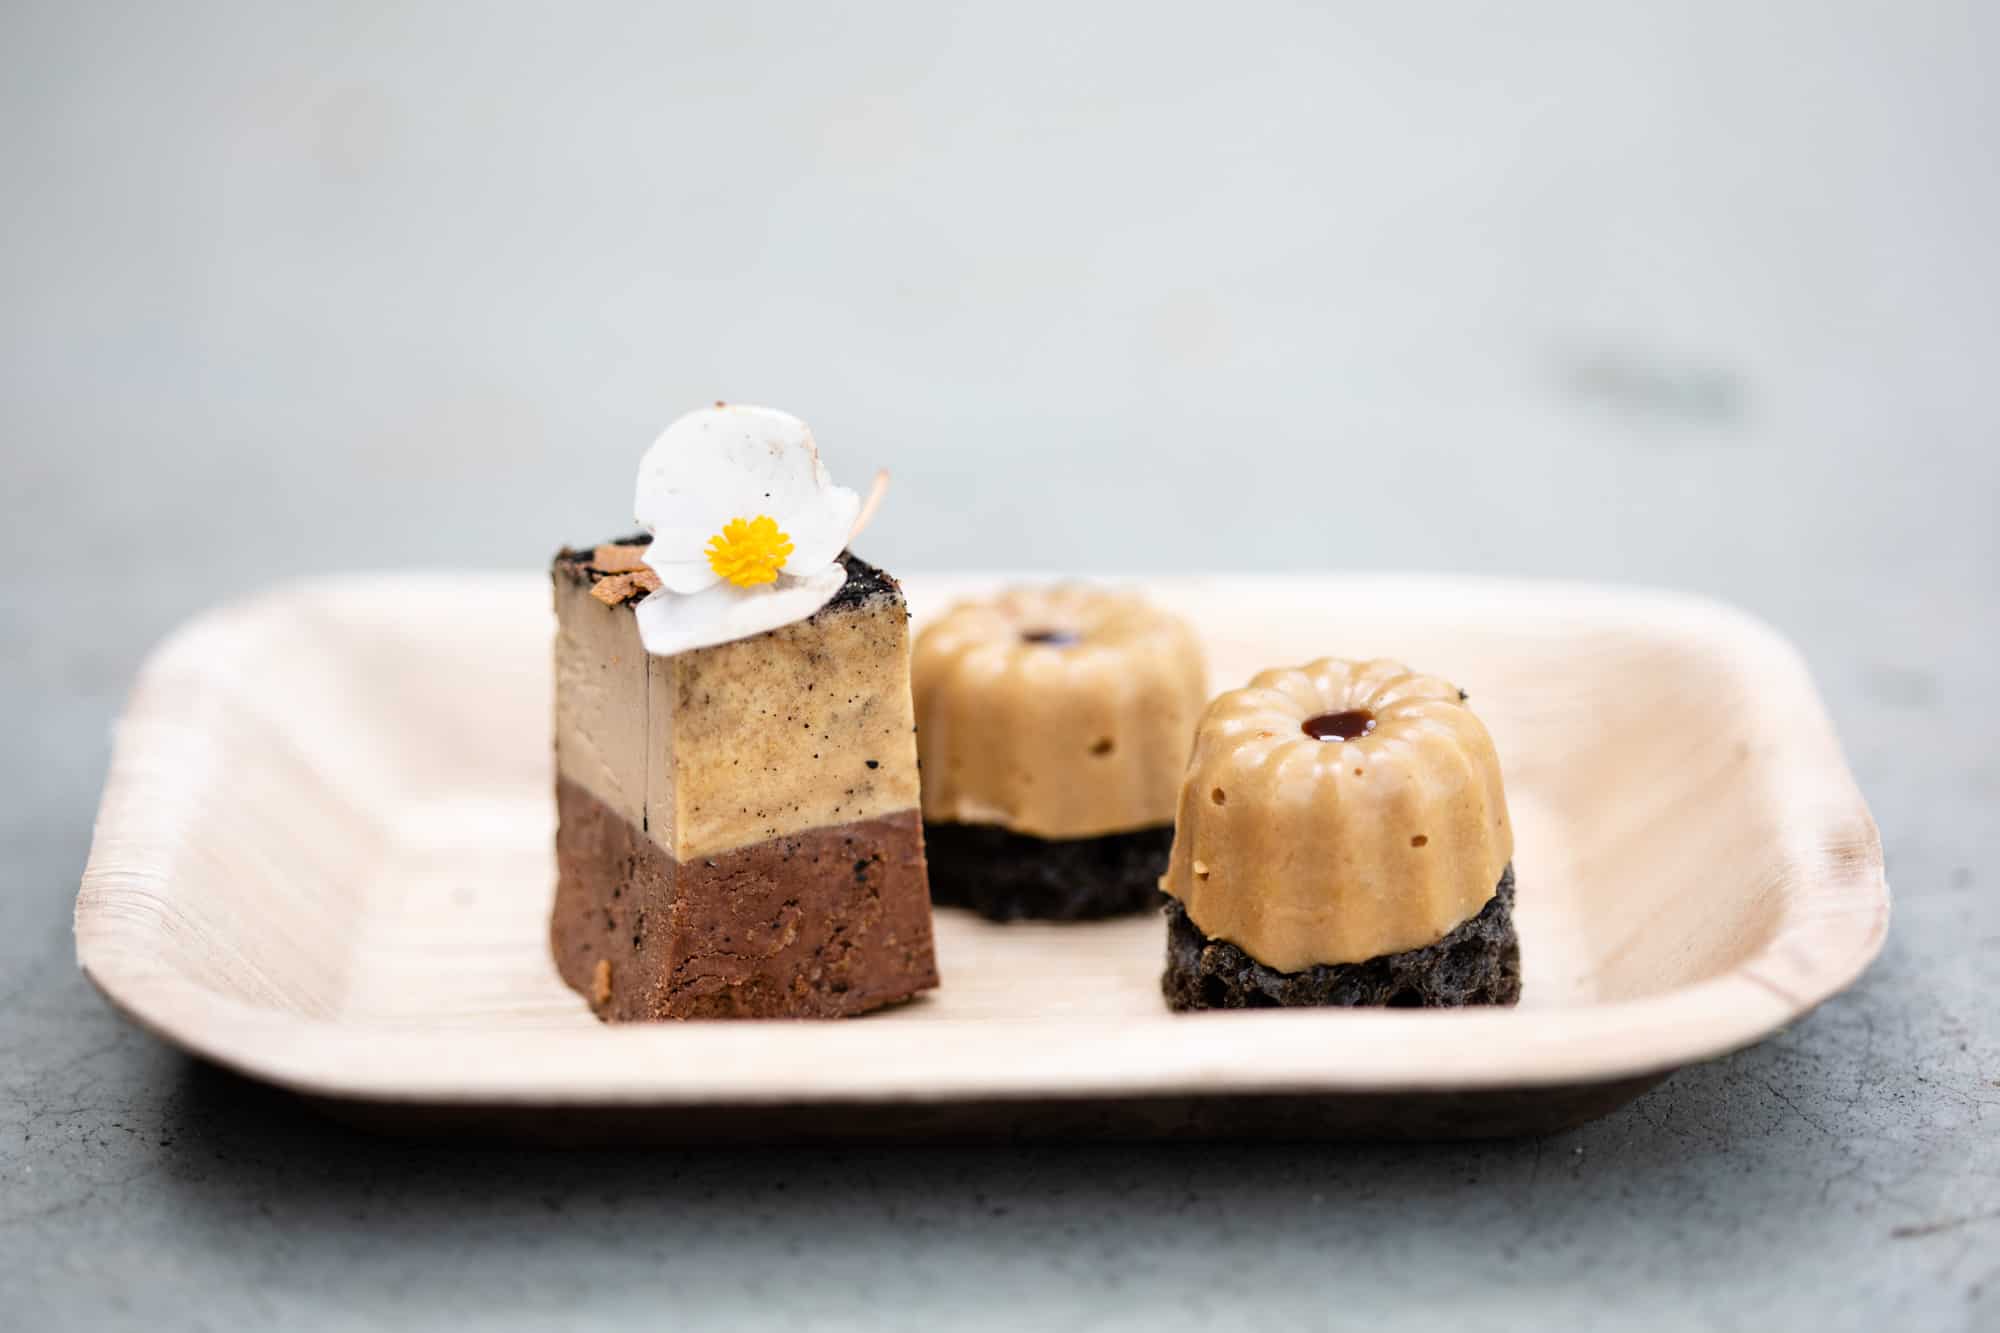
As Murphy’s Law dictates, the most beautiful food of the event will be in the worst lighting conditions. Chef Christopher Gross was offering assorted foie gras hors d’oeuvres indoors at Devoured under orange canned lights and the room was rather dim. Too, the table cloth was flat black and wouldn’t provide an interesting backdrop for the lovely foie.
Instead of monkeying around at the table trying to make the best of a less than ideal situation, I took the food to-go. I found a nearby bench with soft, indirect, natural light.
As you can see, the bench is in the shade, but the light bouncing off of the large tan wall behind provided a nice little kick of backlight. Backlight = sparkle and dimension.
7. Look for Patterns
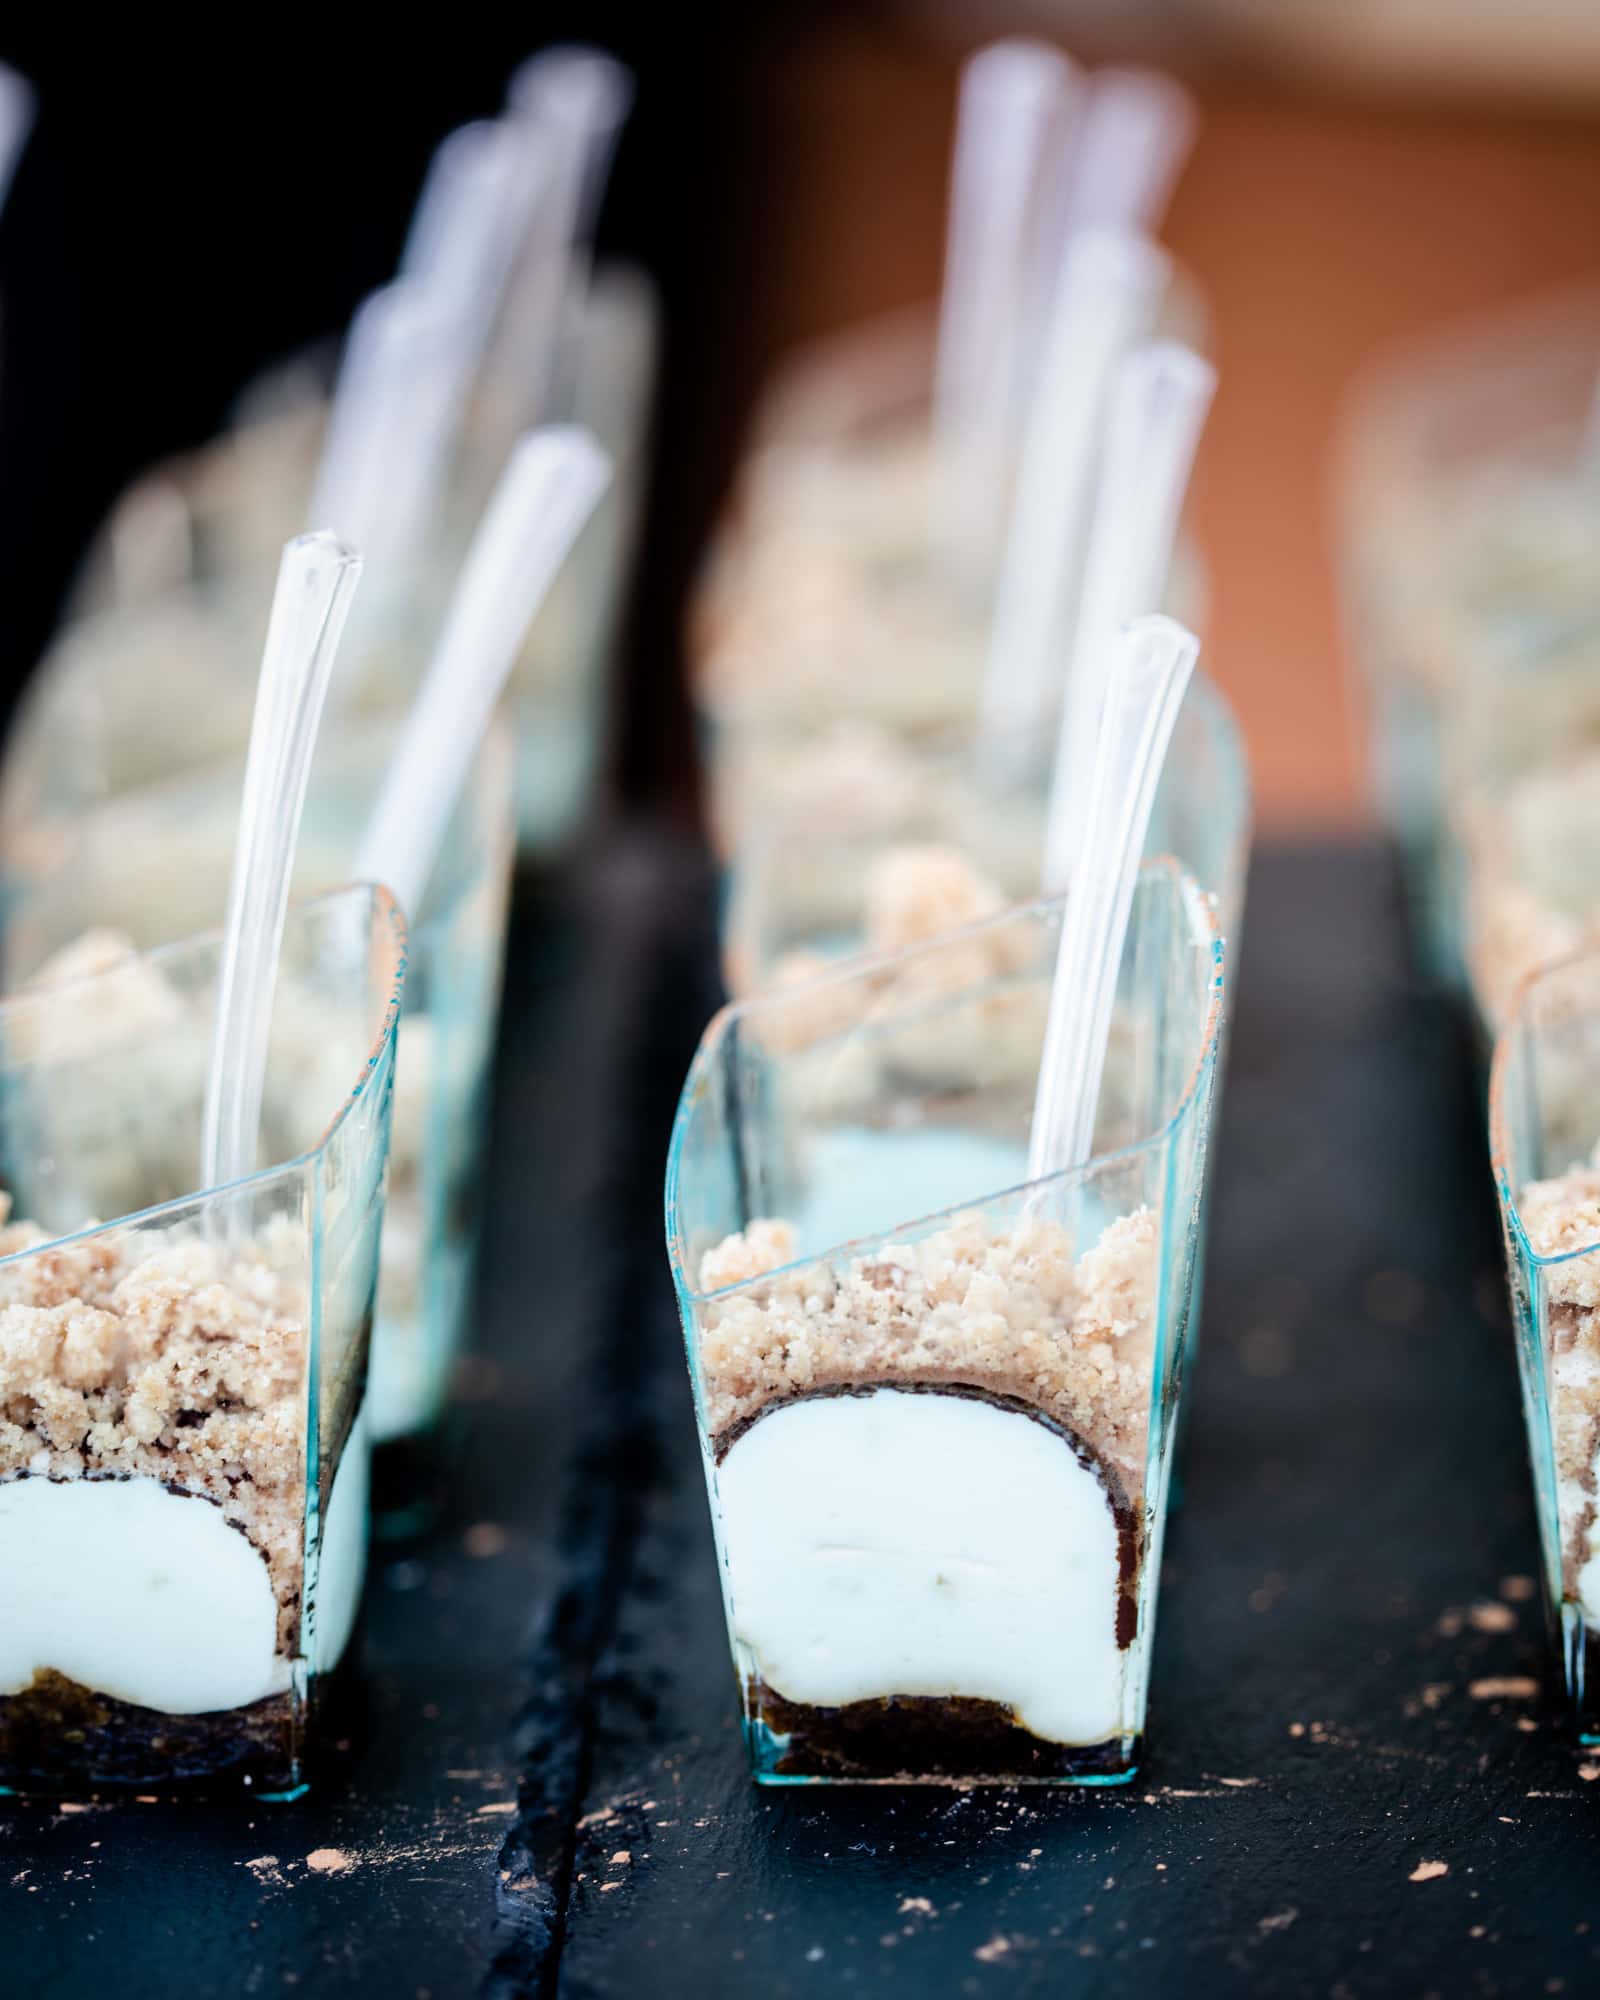
Our eyes love compositions with pattern. Shooting a single dish on its own can bring to life the details, but if there’s a chance to capture a dish as multiples, go for it! Look for opportunities to create lines and shapes that add interest so that the pattern isn’t too monotonous.
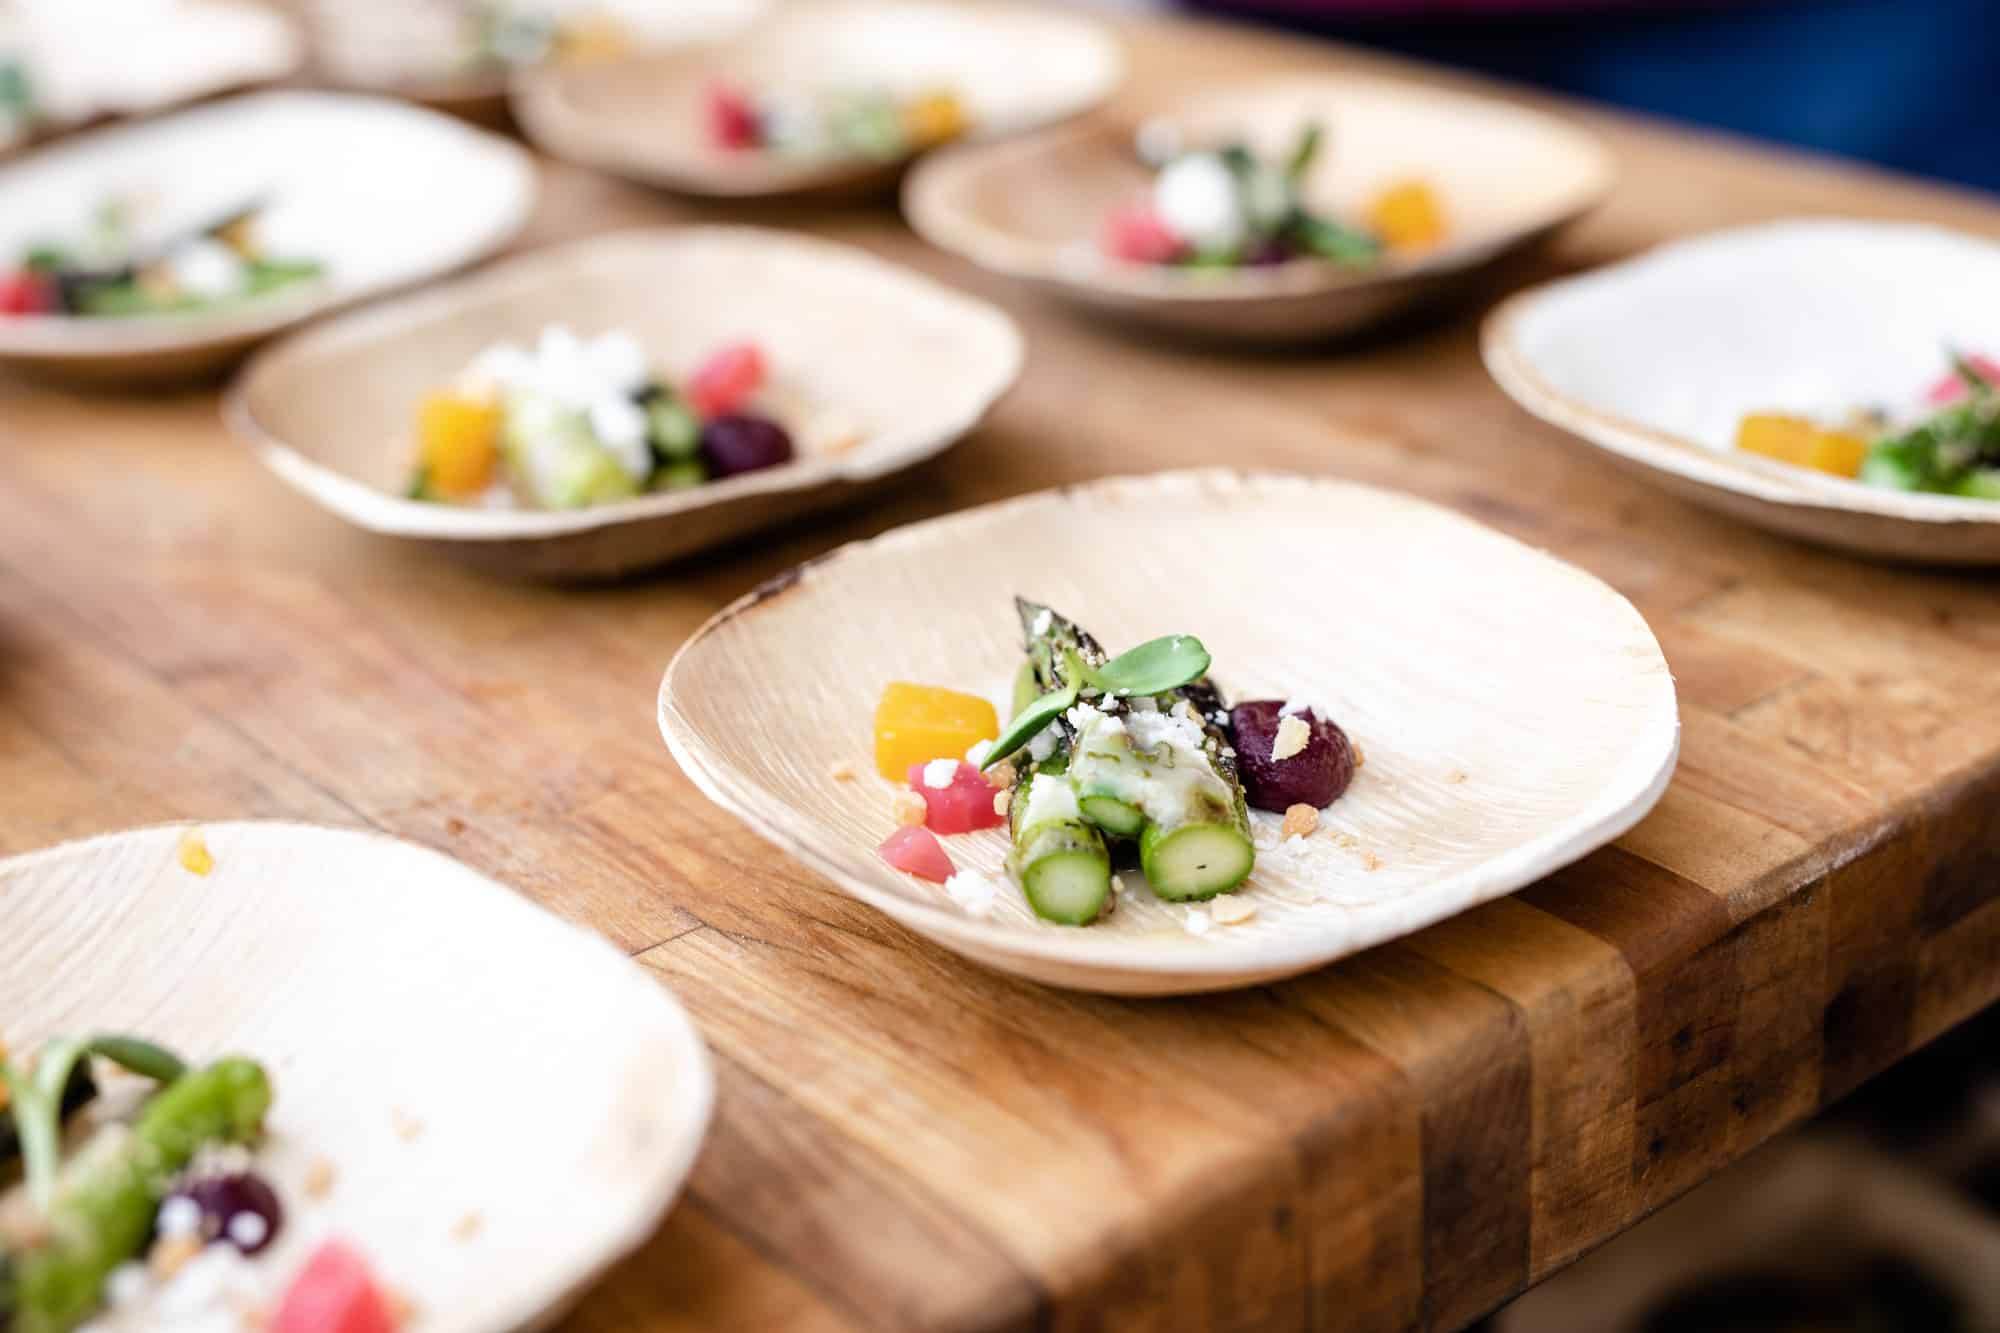
Create diagonals like this shot of Asparagus Salad from Chef Justin Beckett.
Or dominant vertical lines like these Mesquite Flour Tiramisu from Enchantment Resort.
7. Quality Over Quantity
If you’re on assignment and are required to shoot everything, definitely keep proper expectations for the images. There can be upward of 30+ unique offerings at any given food festival, so trying to capture everything is a huge ask for any photographer and means you won’t have a lot of time to devote to each dish.
I prefer to shoot in a manner where I’m hitting the high points and providing a visual recap of the best the event had to offer. In that case, I’m prioritizing quality over quantity. I like to stalk a chef at work for several minutes waiting for a fun action to happen. Or, if the station isn’t busy and they have multiple dishes out, I’ll take the extra time to turn several dishes to their more flattering side.
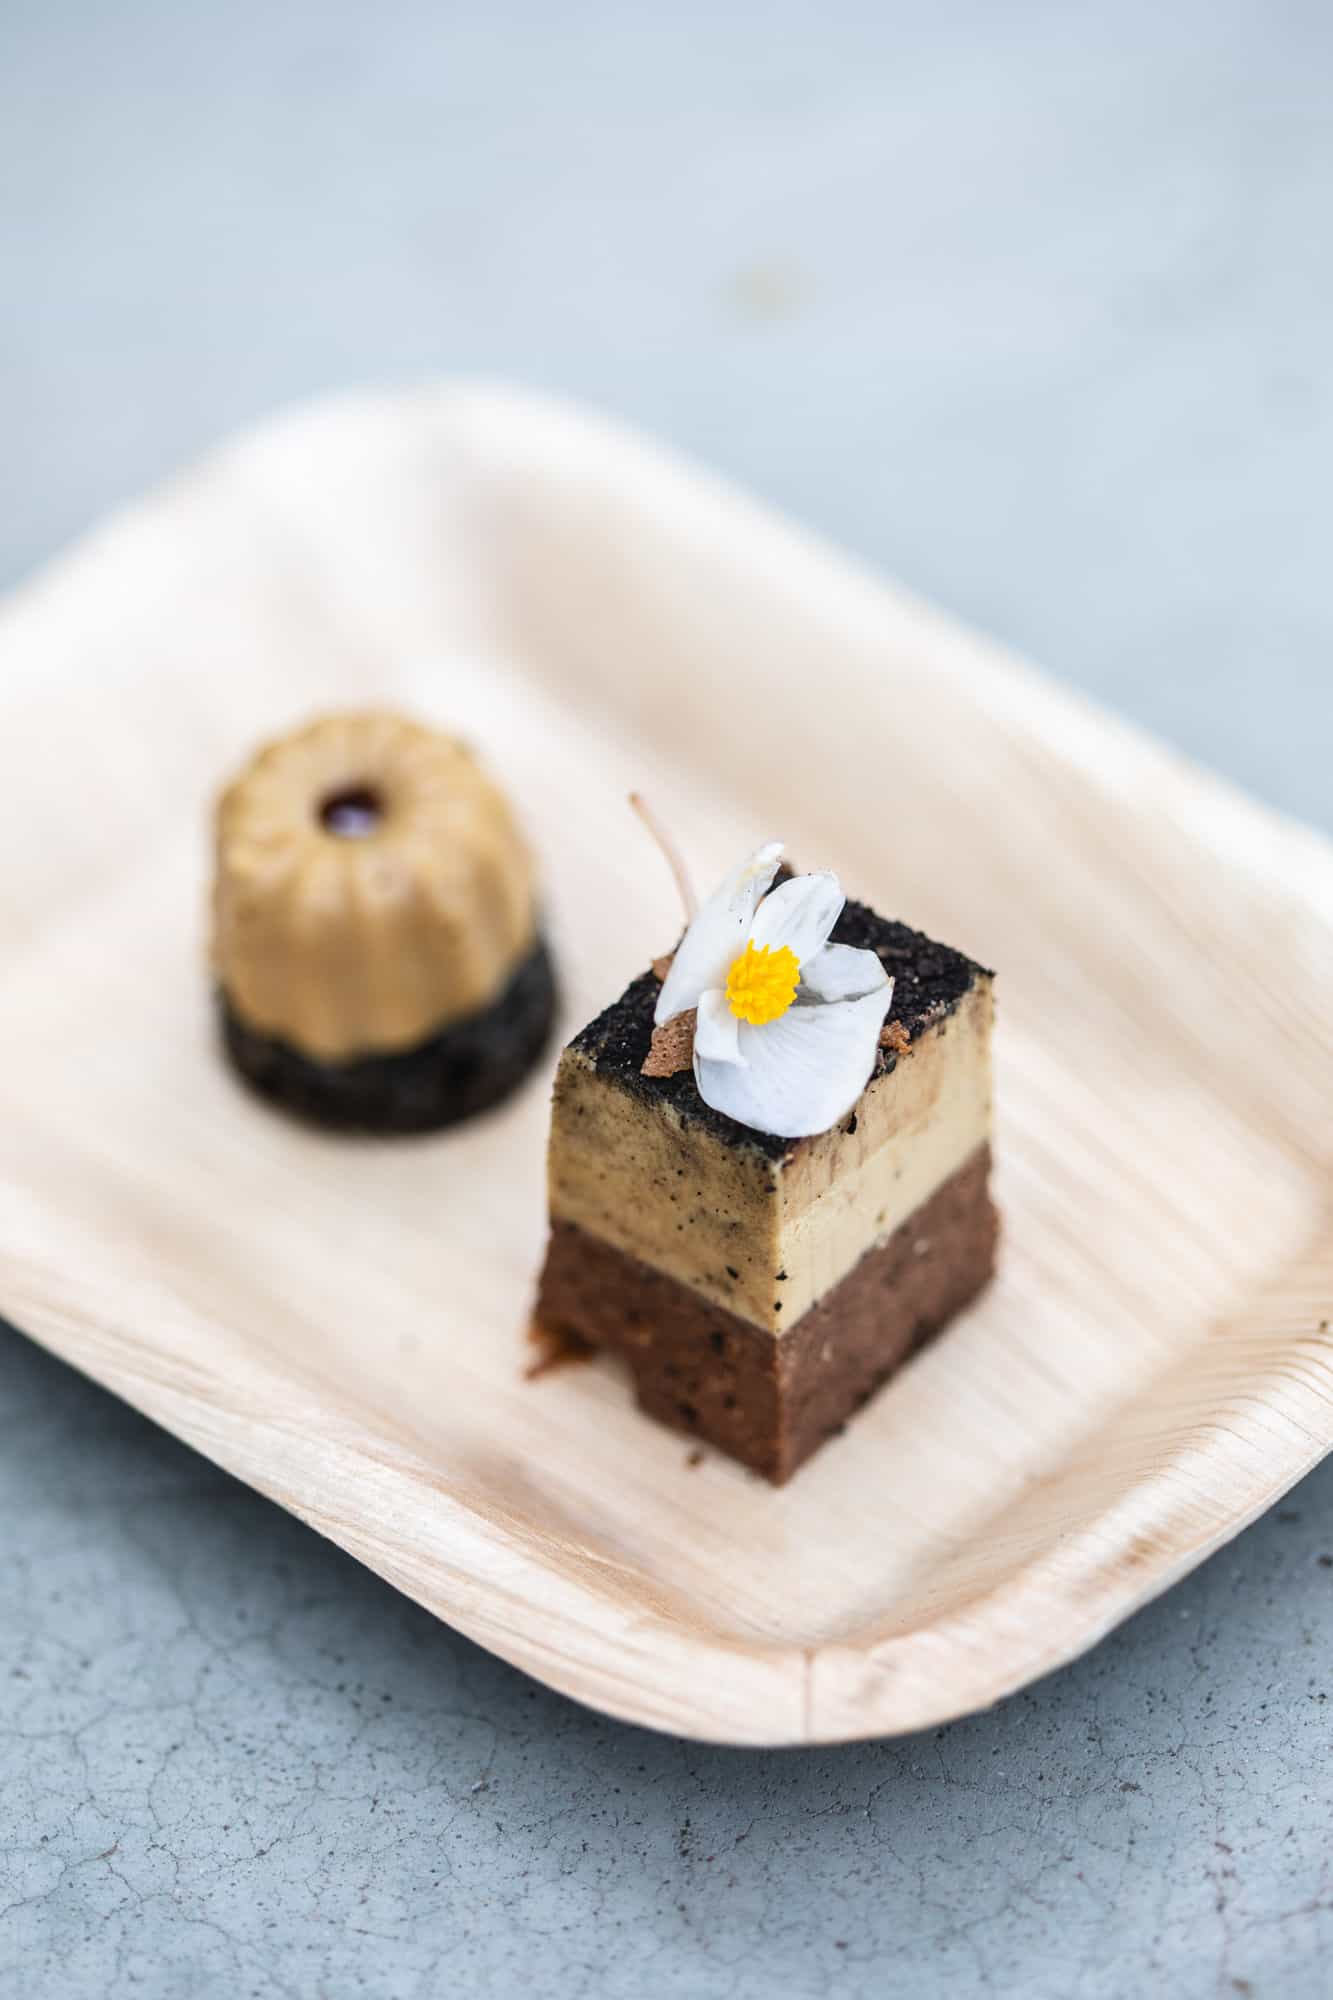
For this shot, I took a few moments to rearrange the foie on the plate and to ensure I had sharp focus on the foie and on the flower’s yellow center. Take time for details when you can.
And, man, am I happy I found that bench. How much do we love the cracked texture of the concrete?!
8. Make it Different
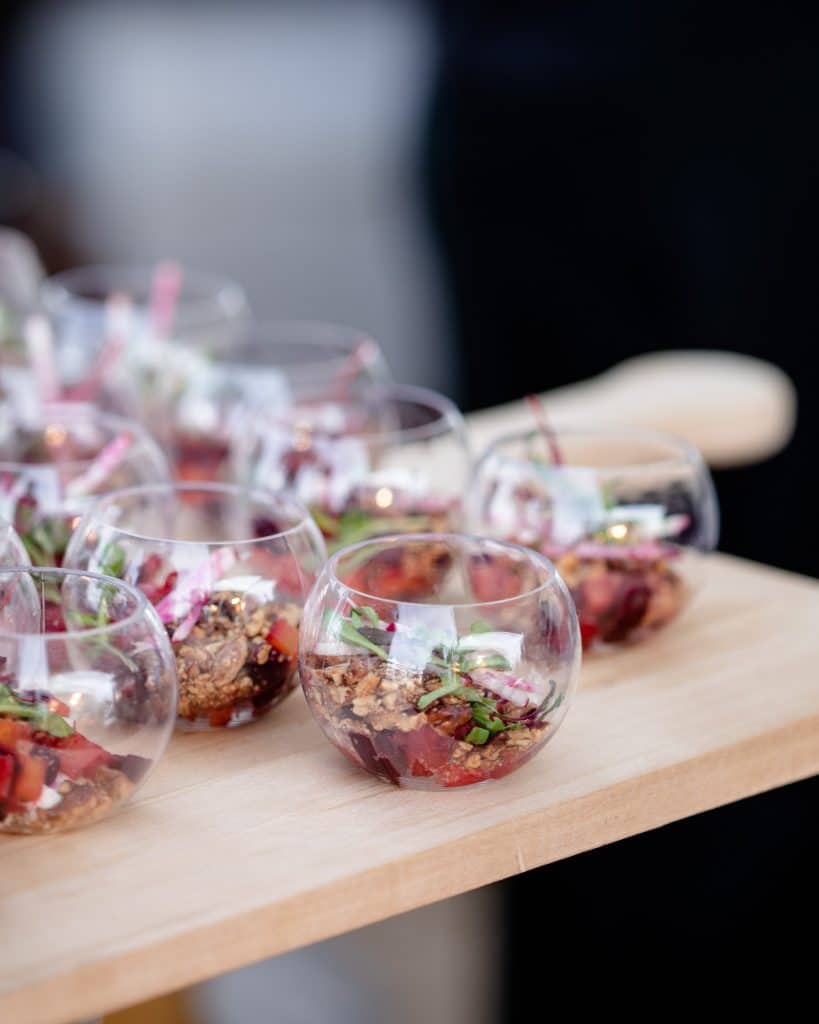
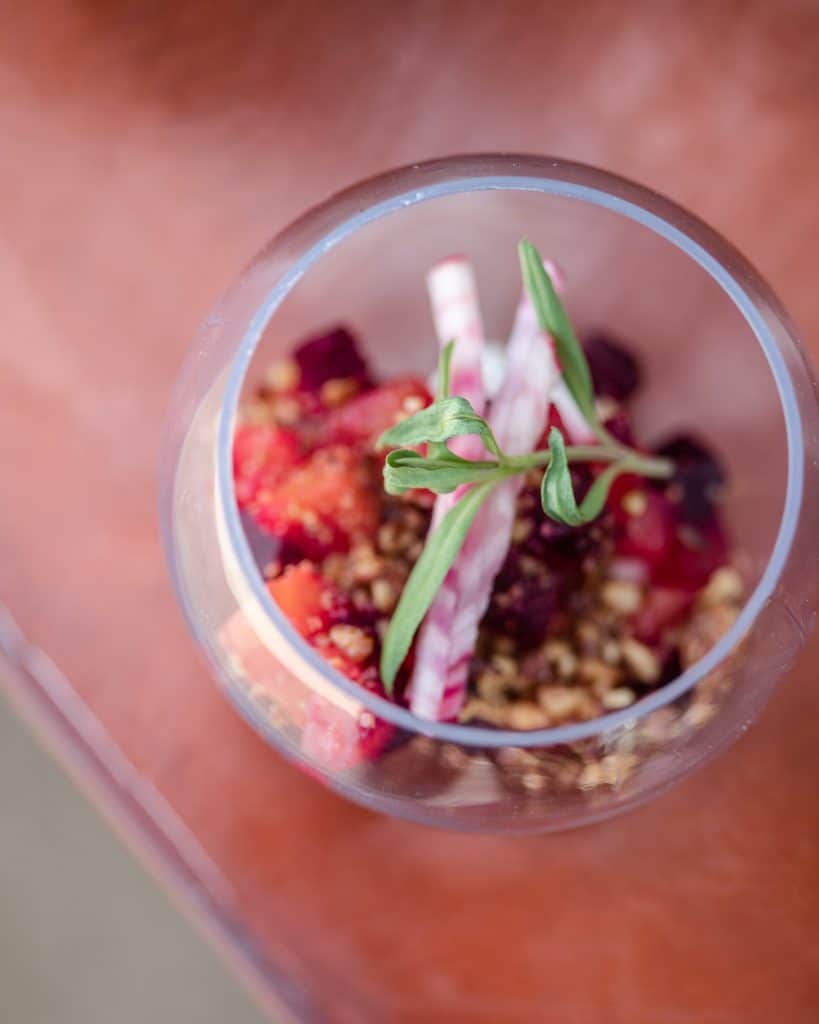
Sometimes I approach a dish and ask myself, “how will everyone else approach this dish?” And then I do something different. Like this little beet salad dish. The more predictable approach is the image on the left. But then I found a copper table top and though it would be fun to play with the color and shapes in a different way.
Feel free to capture the predictable if that’s what the client wants, but if you want something that stands out in the scroll, think differently.
9. Stay in Your Lane
Professionalism is important as a photographer. At a food festival, you are interacting with potential clients such as restaurant owners, chefs and festival organizers. The most important piece of advice I can give you is to remember that you and your images are not the most important thing happening that day. Higher priorities are a great guest experience for festival-goers and a positive experience for the chefs and participants. It’s like a wedding photographer during a ceremony. You have a job to do, but don’t upstage the bride. Don’t ask a chef to make you a special plate for photographing when there’s a line of people waiting. Use common sense and rest assured there will be plenty to capture, plenty of opportunities to make great images.
Alan Wainwright
Joanie, thank you so much for this blogpost. I am a photographer in Ottawa Ontario Canada (Canada;s capital city
The timing for this post is great as I have an event scheduled for March 8th at an Irish Pub in Ottawa’s Irish Quarter, The Heart and Crown ready for St. Patricks Day. This post has really helped my planning process.
As a side note I love your You Tube channel and I find your style refreshing and informative.
Cheers from the Great White North.
Alan
Carolina Pokidaylo
Always so inspired by your content. Thank you so much, Joanie!
Cubes 2048
Thank your for sharing, Joanie! Your tips are really useful for me. Hope that you can share more interesting tips in the future
depapers
I appreciate how concise and actionable your tips are, making it easy for aspiring photographers to implement them and enhance their food festival photography skills. Keep up the great work, and I look forward to applying these tips during my next food festival experience!
Taylor Swift 2048
Slide and merge tiles featuring iconic Taylor Swift moments to progress and unlock new levels. Immerse yourself in the captivating world of Taylor Swift while challenging your puzzle-solving skills.
pizza tower
This is an excellent article. This is, in my opinion, one of the best posts ever written. Your work is excellent and inspiring. Thank you very much.
Jeremy Gerald
Thank you so much for this blogpost. Also we are selling Cleveland Guardians Bomber Jacket
boxing random
This incident taught me a lot of valuable things. That has great value.
anna
I’ve been doing photography for a year now. I try to constantly improve my skills and learn something new. Now I’m actively studying pr photography which is very interesting because visual content has become one of the most important tools and a key foundation for promotion. Making a really cool photo is not easy and requires a lot of effort, but now there are also many different platforms that talk about the intricacies of creating really high-quality and recognizable photos
aliuamir aliuad
In today’s fast-paced digital world, staying updated with the latest trends, news, and job opportunities is crucial for individuals and businesses alike. The term “LatestPosting” has gained significant attention, symbolizing a new wave of instant updates, content sharing, and job alerts that cater to our demand for real-time information. Whether it’s a news update, a blog post, or a job listing, the concept of LatestPosting is transforming how we consume and engage with information. This article explores what LatestPosting means, its impact on various industries, and how it is shaping the future of digital communication https://latestposting.com/
friday night funkin'
Joana has the best blog I have ever seen
Nimra Khan
Cultivate the nice give good results, I just read through a small number of items on that blog not to mention In my opinion that this web site blog page might be proper significant as well as gained circles from awesome advice. 발로란트 대리
Nimra Khan
I’m going to read this. I’ll be sure to come back. thanks for sharing. and also This article gives the light in which we can observe the reality. this is very nice one and gives indepth information. thanks for this nice article… BPC 157 benefits
hunain khan
Friend, this web site might be fabolous, i just like it. Identity theft companies
barrier gate oem
I visit your blog regularly and recommend it to all of those who wanted to enhance their knowledge with ease. The style of writing is excellent and also the content is top-notch. Thanks for that shrewdness you provide the readers!
aliuamir aliuad
Thank you for helping people get the information they need. Great stuff as usual. Keep up the great work!!! situs api777
hunain khan
Document thrilled along with the researching you will designed to makes precise put up impressive. Delightful adventure! Family Photography Near Me Edmonton
hunain mughal
Thank you for your submit and also fantastic suggestions.. also My partner and i furthermore believe work will be the main aspect of acquiring accomplishment. rajabandot
hunain khan
Appreciate it with the write-up in addition to good points.. possibly When i likewise imagine that working hard is usually an important area of having achievements. 먹튀검증
ME
Thank you for helping people get the information they need. Great stuff as usual. Keep up the great work!!! situs sbwin88
me
This is a service that allows you to quickly secure cash if you have a credit card. You can apply for cash if you have a credit card in your name without having to go through a complicated loan screening process. 카드결제 현금화
MNE
Yes i am totally agreed with this article and i just want say that this article is very nice and very informative article.I will make sure to be reading your blog more. You made a good point but I can’t help but wonder, what about the other side? !!!!!!Thanks login lotus33
me
Thanks for picking out the time to discuss this, I feel great about it and love studying more on this topic. It is extremely helpful for me. Thanks for such a valuable help again. sucking sexdoll
aliuamir aliuad
I havent any word to appreciate this post…..Really i am impressed from this post….the person who create this post it was a great human..thanks for shared this with us. Alexistogel
shanu
toilet seats should be disinfected regularly too, this is done to avoid the proliferation of harmful bacterias,, read more
aliuamir aliuad
If you are looking for more information about flat rate locksmith Las Vegas check that right away. バーチャルオフィス 東京
aliuamir aliuad
I’ve been searching for some decent stuff on the subject and haven’t had any luck up until this point, You just got a new biggest fan!.. package ac
Anusharoon17
Hey, I am so thrilled I found your blog, I am here now and could just like to say thank for a tremendous post and all round interesting website. Please do keep up the great work. I cannot be without visiting your blog again and again. https://www.mmc8888.asia/sg/en-us/
baba
L7nexus cc is one of the best IP Stresser that has attack methods like `Rapid Reset` being able to disable many protected layer 7 targets. ddos tool